通过源码包安装方式升级OpenSSH
1 源码安装
1.1 下载源码
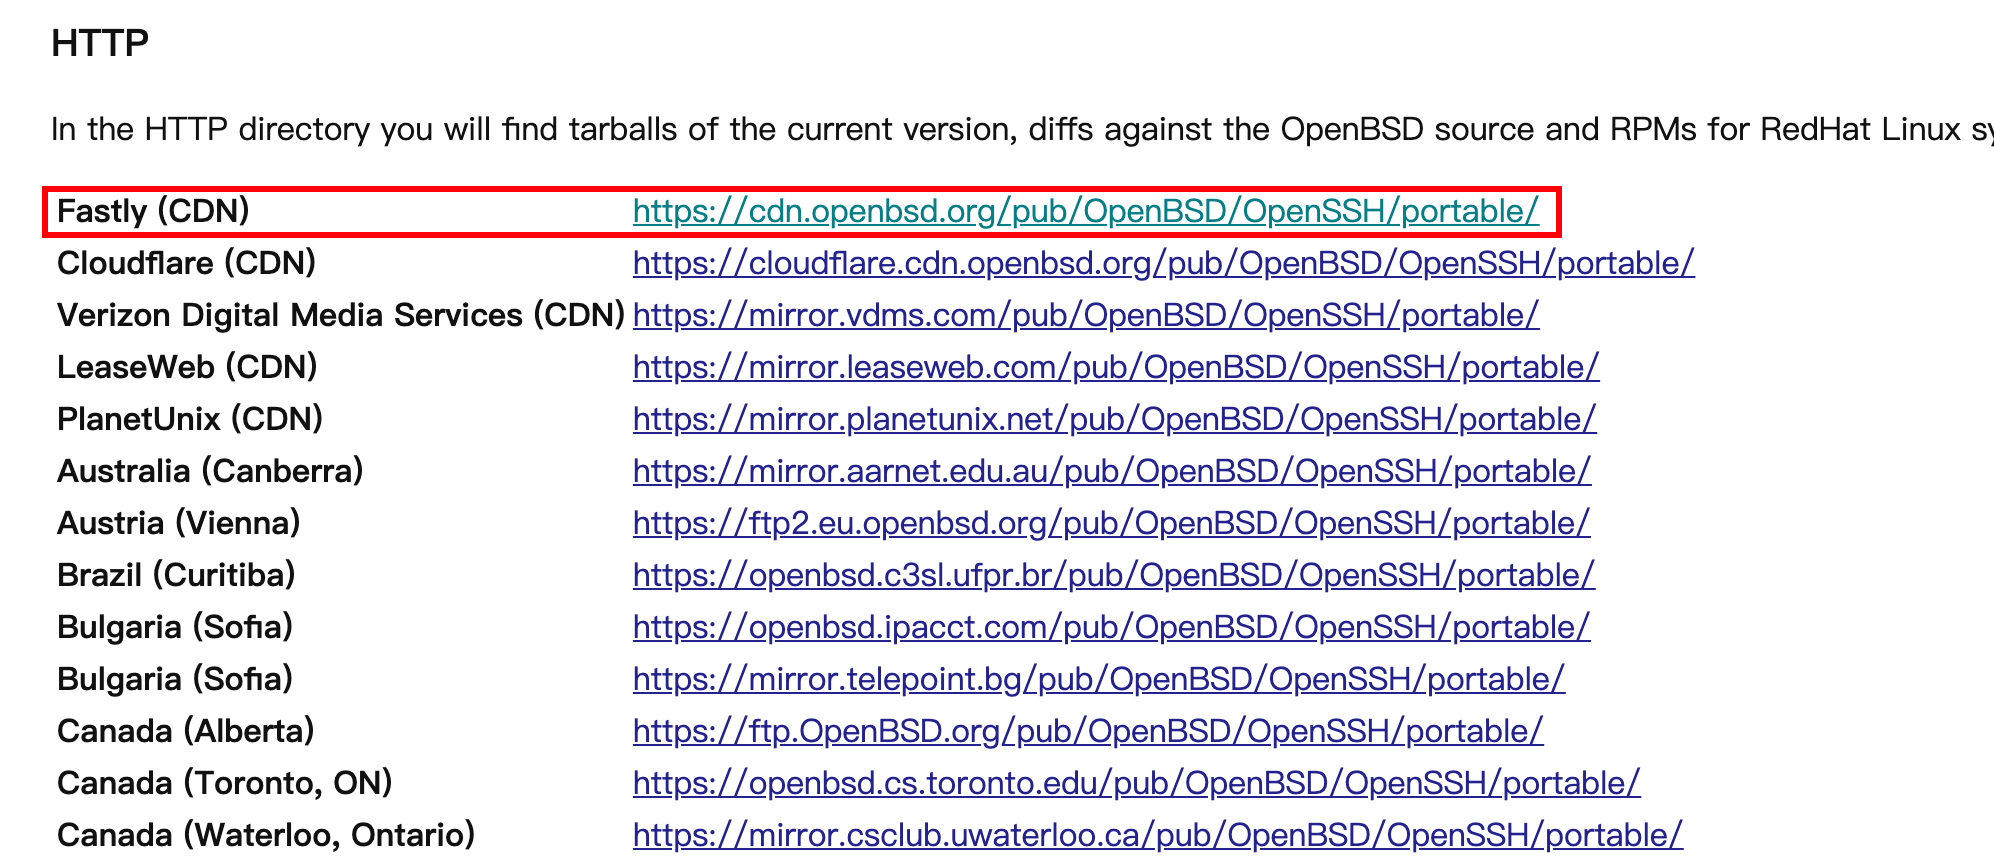
地址:http://www.openssh.com/portable.html

选择一个镜像,下载到本地目录,例如/root
1 | $ wget https://cdn.openbsd.org/pub/OpenBSD/OpenSSH/portable/openssh-8.6p1.tar.gz |
解压缩
1 | $ tar xvf openssh-8.6p1.tar.gz |
检查环境,如果有部分依赖包没有安装,系统会逐个提示。
相关依赖其实在INSTALL文件中已经注明。
1 | $ ./configure |
注意:
请充分阅读INSTALL文件
例如:
- Prerequisites
A C compiler. Any C89 or better compiler should work. Where supported,
configure will attempt to enable the compiler’s run-time integrity checking
options. Some notes about specific compilers:
- clang: -ftrapv and -sanitize=integer require the compiler-rt runtime
(CC=clang LDFLAGS=–rtlib=compiler-rt ./configure)To support Privilege Separation (which is now required) you will need
to create the user, group and directory used by sshd for privilege
separation. See README.privsep for details.The remaining items are optional.
A working installation of zlib:
Zlib 1.1.4 or 1.2.1.2 or greater (earlier 1.2.x versions have problems):
http://www.gzip.org/zlib/libcrypto from either of LibreSSL or OpenSSL. Building without libcrypto
is supported but severely restricts the available ciphers and algorithms.
- LibreSSL (https://www.libressl.org/)
- OpenSSL (https://www.openssl.org) with any of the following versions:
- 1.0.x >= 1.0.1 or 1.1.0 >= 1.1.0g or any 1.1.1
Note that due to a bug in EVP_CipherInit OpenSSL 1.1 versions prior to
1.1.0g can’t be used.
1.2 安装相关依赖
如果需要,根据提示安装相关依赖。如果不需要,可掠过。
1 | $ yum -y group install "Development Tools" |
其中libcrypto没有的话,系统会进行提示。
1 | configure: error: *** working libcrypto not found, check config.log |
安装libcrypto依赖。
1 | $ yum install -y openssl-devel |
继续执行环境检查,检查完会提示相关信息
1 | OpenSSH has been configured with the following options: |
注意看默认的二进制文件、配置文件的安装路径均是/usr/local/
1.3 编译
利用make命令进行编译,这个会花一定的时间。【需要在openssh的源码路径下执行】
1 | $ make |
1.4 安装
1 | $ make install |
可以从上述内容中,看到部分反馈。
2 配置
2.1 注意事项:源码安装后路径变化
注意看系统自带的openssh版本号和安装相关路径
1 | $ which sshd |
可以看出来自带的openssh版本是8.0,安装路径位于/usr/sbin/下,配置文件的路径为/etc/ssh
千万注意系统自带的openssh和源码安装路径
而用源码包安装后的路径,在用make install安装完毕后,系统已经提示。
1 | OpenSSH has been configured with the following options: |
2.1 系统自带systemd配置文件
系统自带的systemd配置文件如下【切勿直接用,只是表示系统自带的内容】
1 | cat > /usr/lib/systemd/system/sshd.service<<EOF |
我们首先备份原有systemd配置文件
1 | $ cp /usr/lib/systemd/system/sshd.service{,.bak} |
2.2 关闭系统自带SSHD服务
关闭当前SSHD服务,注意关闭当前SSHD服务,并不会影响当前的这次SSH连接。
1 | $ systemctl disable sshd --now |
2.3 修改systemd配置文件
【2.2 关闭系统自带SSHD服务】的步骤需要在修改systemd配置文件前操作。
1 | cat >/usr/lib/systemd/system/sshd.service <<EOF |
2.4 启用源码包安装的sshd服务
注意,由于新添加了systemd配置文件,需要重新加载【这步操作不要遗忘】
1 | $ systemctl daemon-reload |
此时可以正常利用systemctl启动服务
1 | $ systemctl enable sshd --now |
验证
1 | $ systemctl status sshd |
2.5 扩展的问题处理
我们退出当前ssh连接后,再次通过ssh当前服务器时候,会出现以下错误
1 | $ ssh root@172.18.3.101 |
原因:因为原来服务器SSHD服务的SHA256指纹发生了改变。
扩展知识
当服务器在收到SSH客户端连接请求时候,会将公钥提供给客户端用于身份认证。
源码包安装的服务器秘钥文件,其中
.pub为一对非对称秘钥的公钥
2
3
4
5
6
7
8
9
10
11
12
total 600
-rw-r--r--. 1 root root 577388 Mar 27 2020 moduli
-rw-r--r--. 1 root root 1770 Mar 27 2020 ssh_config
drwxr-xr-x. 2 root root 28 Jul 7 08:09 ssh_config.d
-rw-------. 1 root root 4269 Mar 27 2020 sshd_config
-rw-r-----. 1 root ssh_keys 492 Jul 7 08:13 ssh_host_ecdsa_key
-rw-r--r--. 1 root root 162 Jul 7 08:13 ssh_host_ecdsa_key.pub
-rw-r-----. 1 root ssh_keys 387 Jul 7 08:13 ssh_host_ed25519_key
-rw-r--r--. 1 root root 82 Jul 7 08:13 ssh_host_ed25519_key.pub
-rw-r-----. 1 root ssh_keys 2578 Jul 7 08:14 ssh_host_rsa_key
-rw-r--r--. 1 root root 554 Jul 7 08:14 ssh_host_rsa_key.pub源码包安装的服务器秘钥文件
2
3
4
5
6
7
8
9
10
11
-rw-r--r--. 1 root root 1531 Jul 7 13:10 /usr/local/etc/ssh_config
-rw-r--r--. 1 root root 3167 Jul 7 13:10 /usr/local/etc/sshd_config
-rw-------. 1 root root 1393 Jul 7 13:10 /usr/local/etc/ssh_host_dsa_key
-rw-r--r--. 1 root root 613 Jul 7 13:10 /usr/local/etc/ssh_host_dsa_key.pub
-rw-------. 1 root root 513 Jul 7 13:10 /usr/local/etc/ssh_host_ecdsa_key
-rw-r--r--. 1 root root 185 Jul 7 13:10 /usr/local/etc/ssh_host_ecdsa_key.pub
-rw-------. 1 root root 419 Jul 7 13:10 /usr/local/etc/ssh_host_ed25519_key
-rw-r--r--. 1 root root 105 Jul 7 13:10 /usr/local/etc/ssh_host_ed25519_key.pub
-rw-------. 1 root root 2610 Jul 7 13:10 /usr/local/etc/ssh_host_rsa_key
-rw-r--r--. 1 root root 577 Jul 7 13:10 /usr/local/etc/ssh_host_rsa_key.pub
【解决办法】
我们将个人账户家目录下的.ssh/known_hosts文件,将对应服务器地址的记录删除后,重新登录。
再次访问,提示将指纹添加到.ssh/known_hosts文件,正常访问。
1 | $ ssh root@172.18.3.101 |
【验证公钥】
我们在服务器端打开ssh_host_ecdsa_key.pub,查看其中的公钥内容。
1 | cat ssh_host_ecdsa_key.pub |
打开客户端.ssh/known_hosts文件,该服务器对应的指纹和服务器端ssh_host_ecdsa_key.pub。
实际上客户端.ssh/known_hosts文件就是保存着服务器非对称加密套件所对应的公钥内容。
1 | $ cat ~/.ssh/known_hosts |
3 其它
2021年8月25日,按照本文操作可以直接将openssh8.6升级到了8.7。